The Workflow Settings allow you to configure various parts of the journal's editorial workflow. You'll most often work with three main tabs in these settings: Submission, Review, and Emails.
This PKP video walks you through configuring the Submission settings for your journal.
A journal manager will be able to disable submissions for the entire section or disable submissions to a specific section or for the journal as a whole.
Once the setting is enabled, a notification is displayed indicating that submissions have been disabled. When this setting is enabled, users will no longer be able to make submissions in the journal.


This section allows you to configure what types of metadata are collected during the submission process, such as languages, keywords, and references. Make sure Enable box is checked if you want to collect the type of metadata, and choose your preference (if applicable) from the list of options below the type.
This PKP video shows you how to configure the Components settings of the submission process.
Components are the file types authors may upload to the site. Typically, one file will be the article text, and others can include interview transcripts, data, images, etc. The components available for the author to choose from when making their submission are listed here.
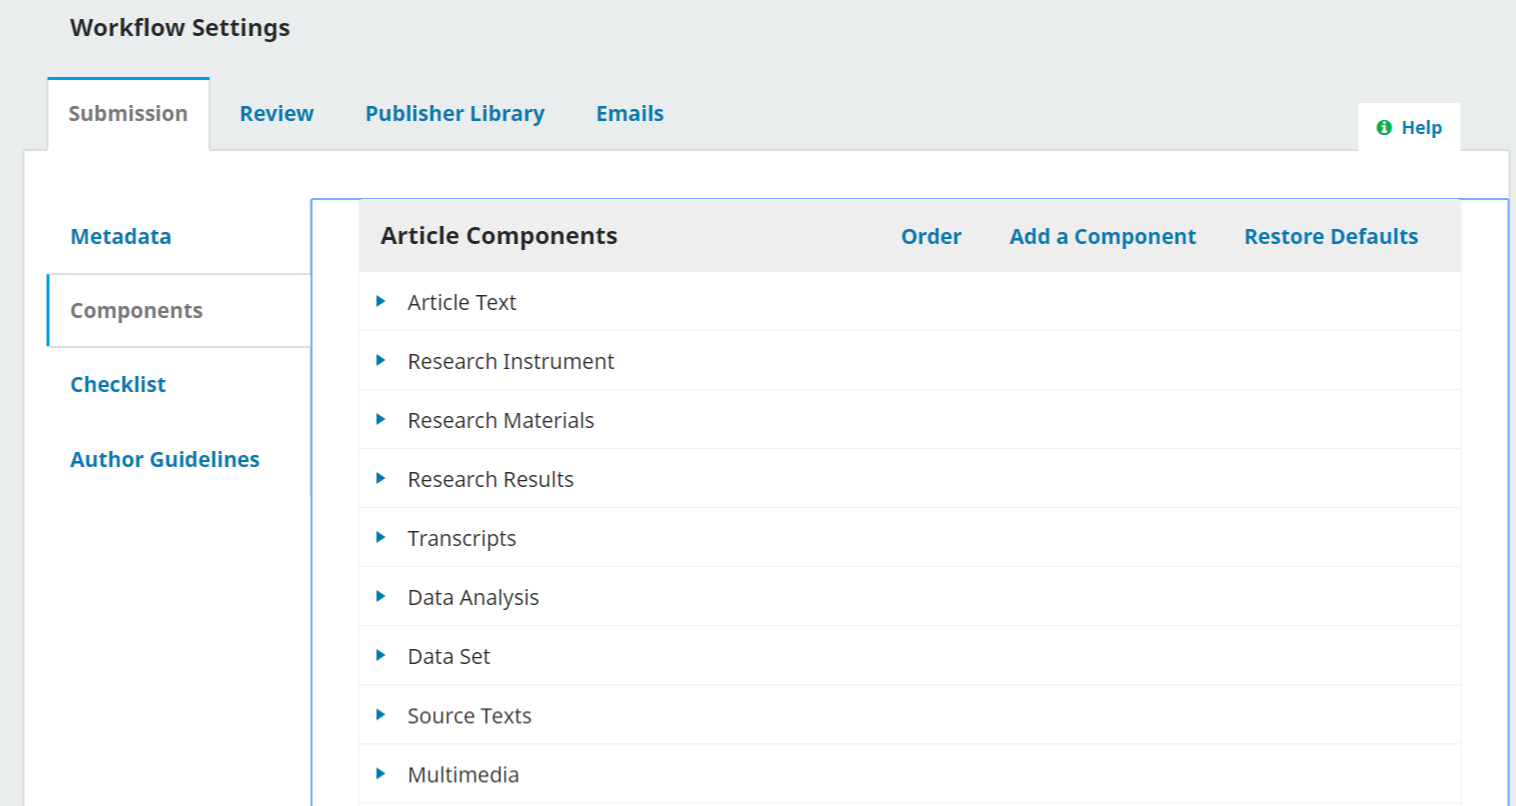
Using the links provided, you can change the Order of the components (how they will be listed to the submitting author), Add a Component (if something you need is not included by default – e.g., Video), or Restore the Defaults (if someone has made too many modifications and you just want to reset everything).
You can also edit each component by selecting the blue arrow to the left of the component name. This will reveal an Edit link and a Delete link.
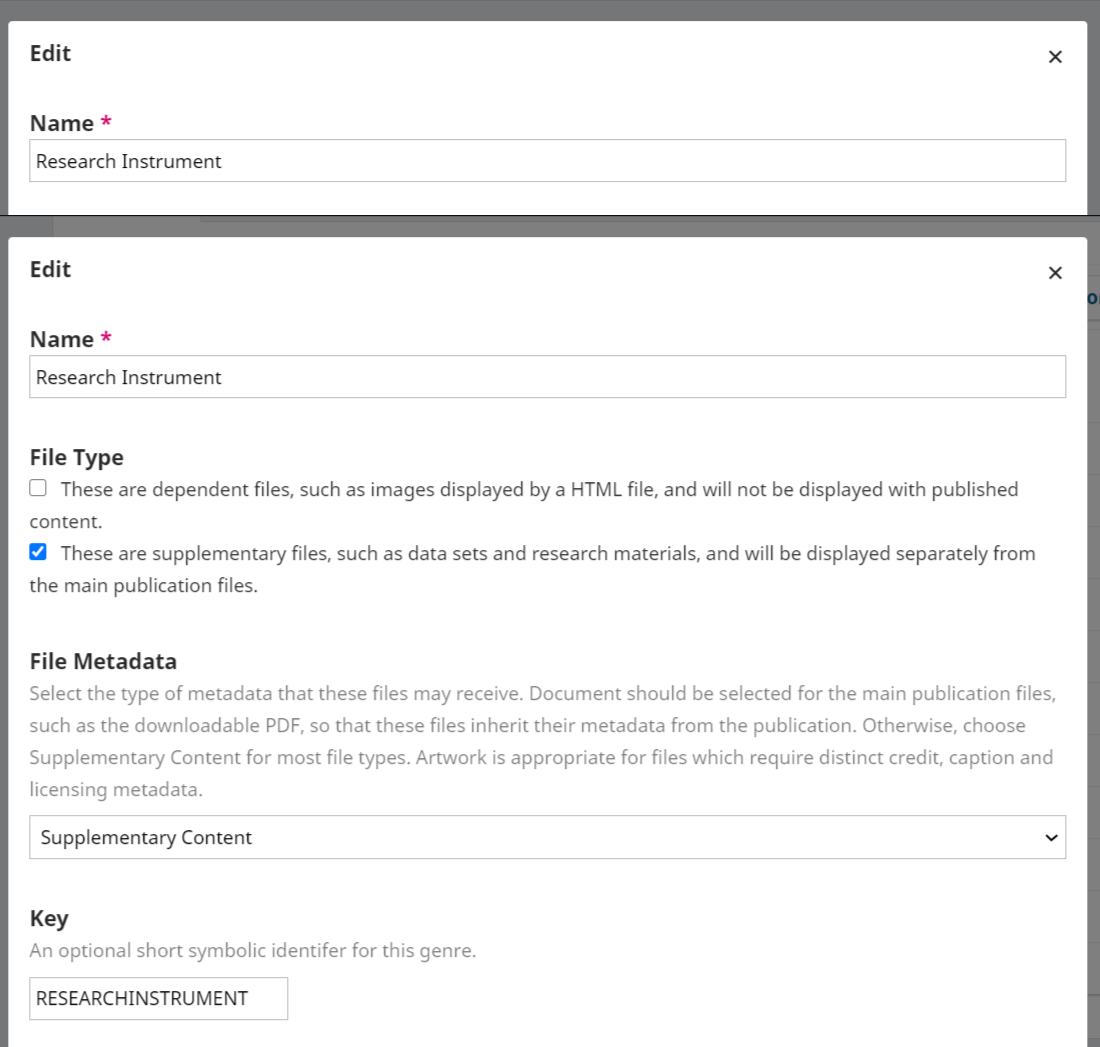
Name: This is the name of the component, as presented to the author.
File Type: Choose how the files associated with this component will be treated and displayed. Anything that is marked as a Dependent file will not be published.
File Metadata: Select the type of metadata that these files may receive. Document should be selected for the main publication files, such as the downloadable PDF, so that these files inherit their metadata from the publication. Otherwise, choose Supplementary Content for most file types. Artwork is appropriate for files which require distinct credit, caption and licensing metadata.
Key: Optional short symbol for the component.
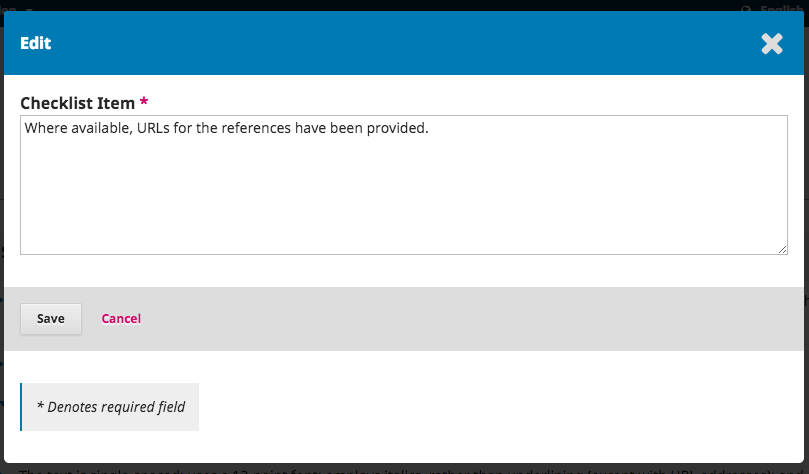
In the Submission Preparation Checklist, Authors must check off that they agree with each item on this list. Use the Order link to change the order of the items, use the Add Item link to create a new item, and use the blue arrow to the left of the item name to Edit an existing item.
Use this field to add information for your authors that will be useful during the submission process. This information will be displayed on the journal website.
The Review tab allows you to configure your journal's review process. Watch this video by PKP school to see how to do this in OJS.

Default Review Mode: Select whether your journal will follow an anonymous reviewer/anonymous author, anonymous reviewer/disclosed author, or open review process.
Restrict File Access: Check this off if you want the reviewer to respond to the request before accessing the submission files.
One-click Reviewer Access: Enable (default) the first option to provide reviewers with one-click access to the review, bypassing the need to go to the website, login, and find the submission. For security reasons with this option, editors are not able to modify email addresses or add CCs or BCCs prior to sending invitations to reviewers.
Default Review Deadlines: Indicate how long reviewers have to decide to accept or decline a review request from the editor, and how long they have to make a recommendation. These dates are calculated from the date the review is sent.
Automated Email Reminders: Reviewers will automatically be notified when they are assigned to a review; however, you may wish to enable or disable reminder emails for reviewers. Use the drop down menu to select either the number of days or “Never Remind” under “Send a reminder if a reviewer has not responded to a review request within the following time (days) after response due date” to set the number of days that can pass after the due date before reviewers will be reminded to accept or reject a review request.
Use the drop down menu to select either the number of days or “Never Remind” under “Send a reminder if a reviewer has not responded to a review request within the following time (days) after response due date” to set the number of days that can pass after the due date before reviewers will be reminded to make a recommendation for a submission.
Hit the Save button to record your changes.
Note that some system settings must be configured by the Site Administrator to send email. See the Administrator’s Guide for more information.
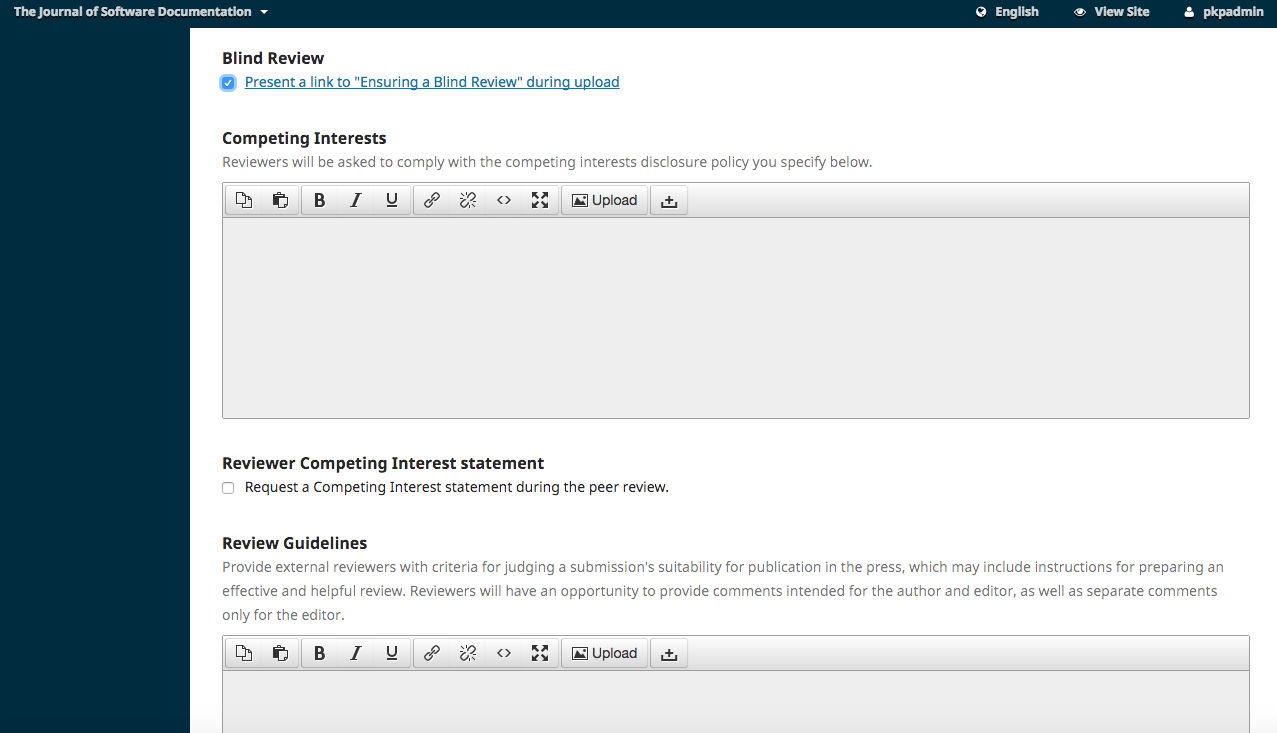
Review Guidelines: Provide your reviewers with criteria for judging a submission’s suitability for publication in the press, which may include instructions for preparing an effective and helpful review.
Competing Interests: Add your competing interest disclosure policy statement here.
Review forms provide reviewers with a set of questions to respond to. This can help focus their feedback in ways that is more useful to you.
Create Review Form: Use the Create Review Form link to make a new form.
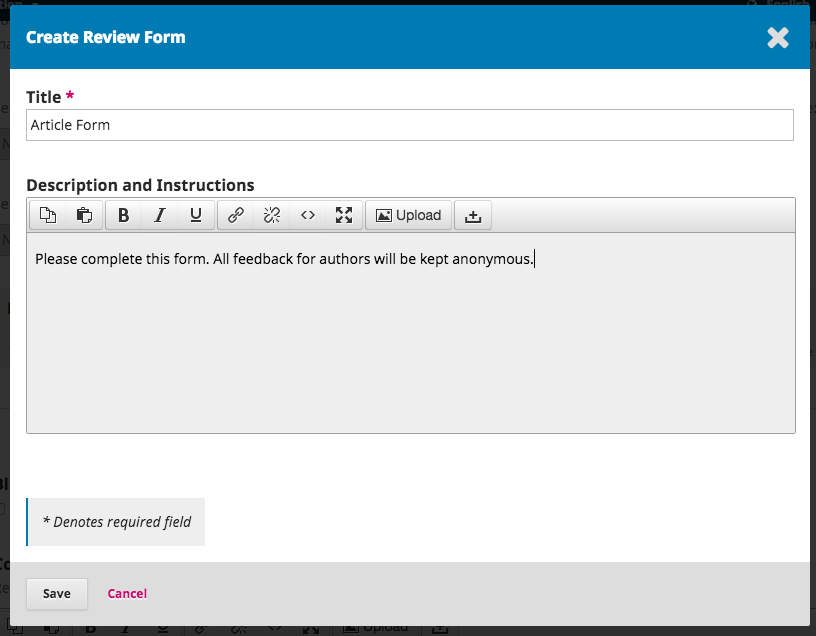
The Description and Instructions provide information about the form and when to use it for Journal Managers and Editors. This content is not included on the form that reviewers see. You can add instructions and guidelines for reviewers under Review Guidelines (below).
Back at the Review Forms page, select the blue arrow to the left of the form name to reveal the Edit link.

Select the Edit link and complete the form.
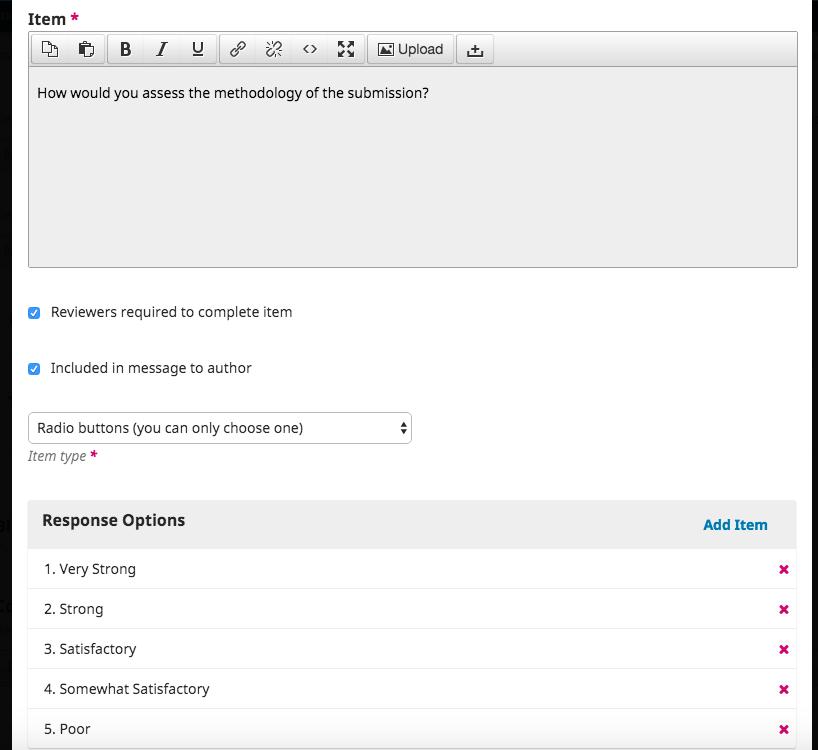
Form Items are form questions.
You can choose whether to make the question mandatory for reviewers and visible to the author.
You can then choose the type of response, including:
Response Options are the selections you make available for the checkboxes, radio buttons, or dropdown menus. A good example of a checkbox response is a Likert scale, where the reviewer must choose only one option: E.g., Good, Neutral, Bad.
Remember to hit the Save button to record your changes.
Use the Preview tab to test out the form.
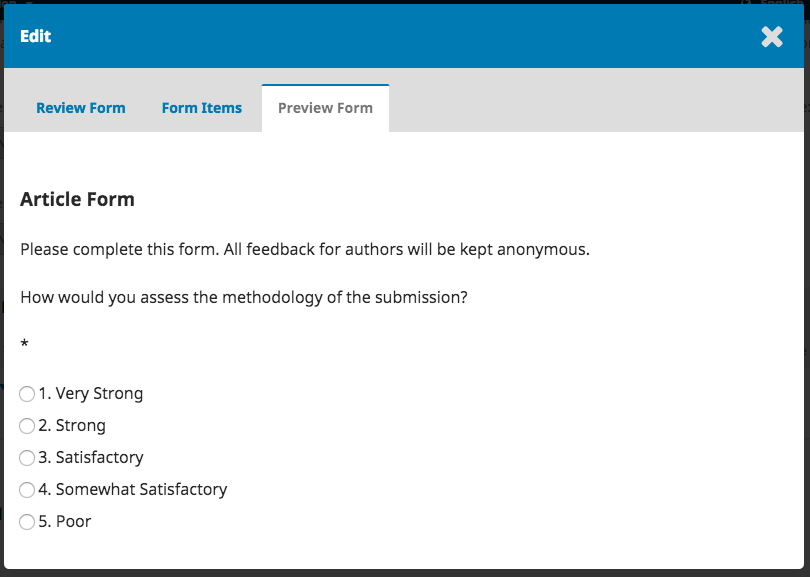
Once you send the form to a reviewer you will no longer be able to edit it because that would change the record for existing reviews using that form. If you want to make changes to the review form at that point you can copy the existing form and create a new updated version.
Anonymous Reviewer/Disclosed Author: Check this box to display a link for instructions on ensuring all submission files are anonymized.
This PKP School video shows you how to configure emails in OJS.
The section allows you to configure the emails that are sent out from the system.
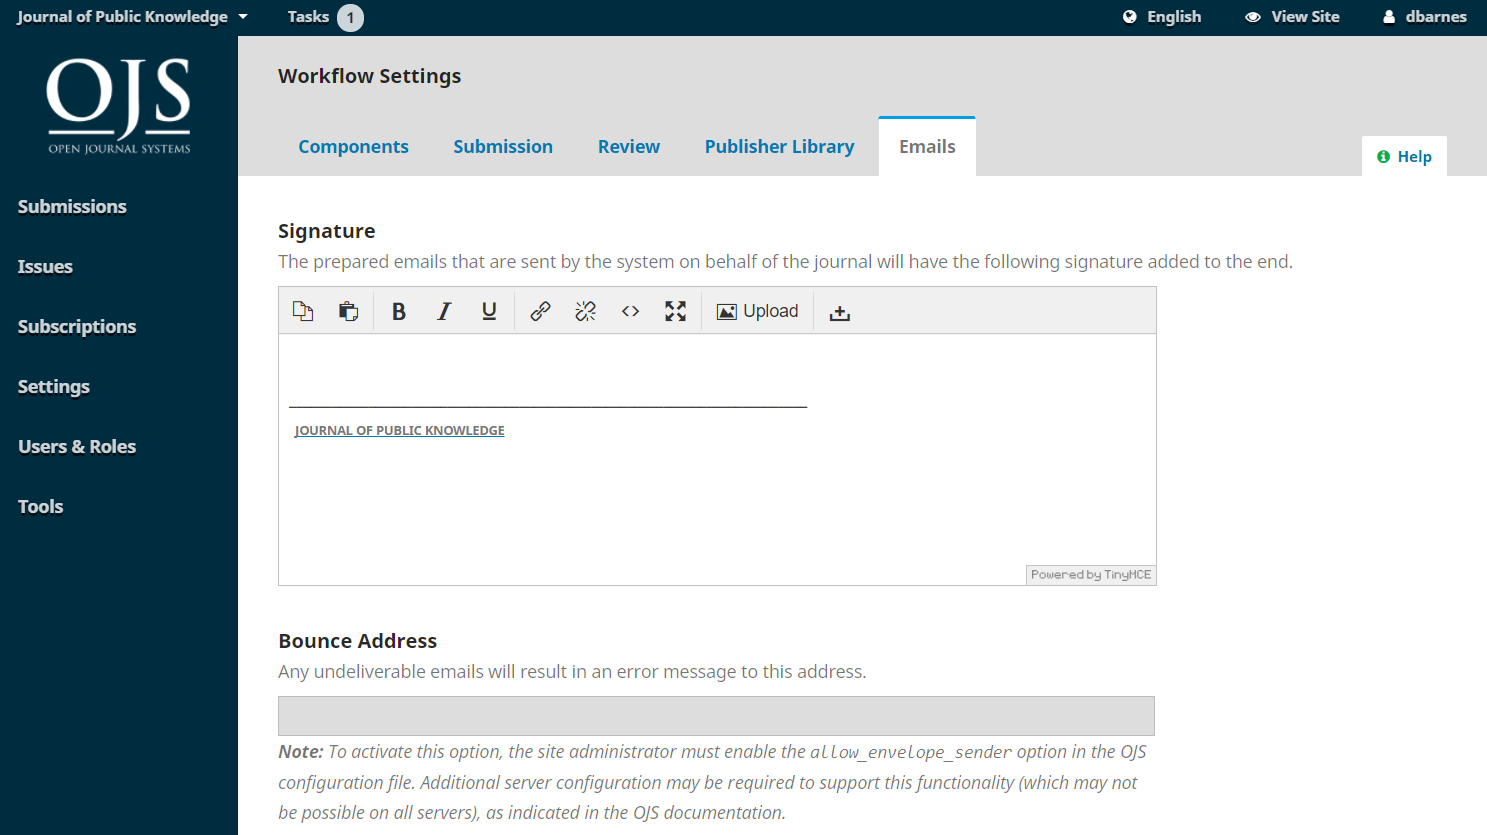
Signature: The information in this field will be added to the bottom of every email sent out by the system.
Bounce Address: A notice will be sent to this email address of any system-sent emails that fail to deliver, such as when the targeted email address is no longer valid.
OJS facilitates work flow communication through the use of prepared email messages. Please note, some configuration is required to send email. See the Administrator’s Guide for more information.
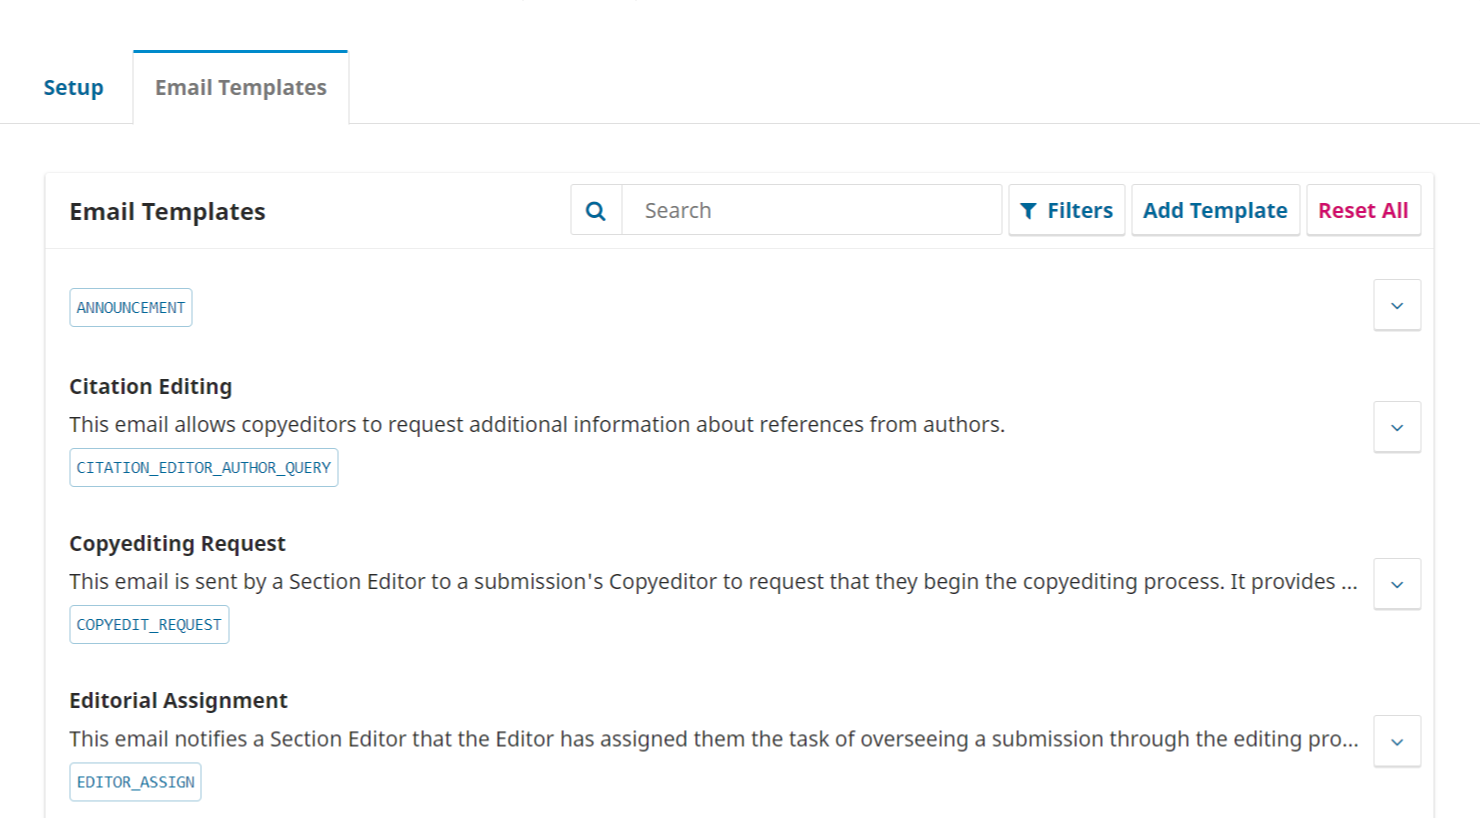
You can view and modify the prepared email templates here. You will see a list of email templates under the Emails tab. The title and summary of each email template is displayed in the list.
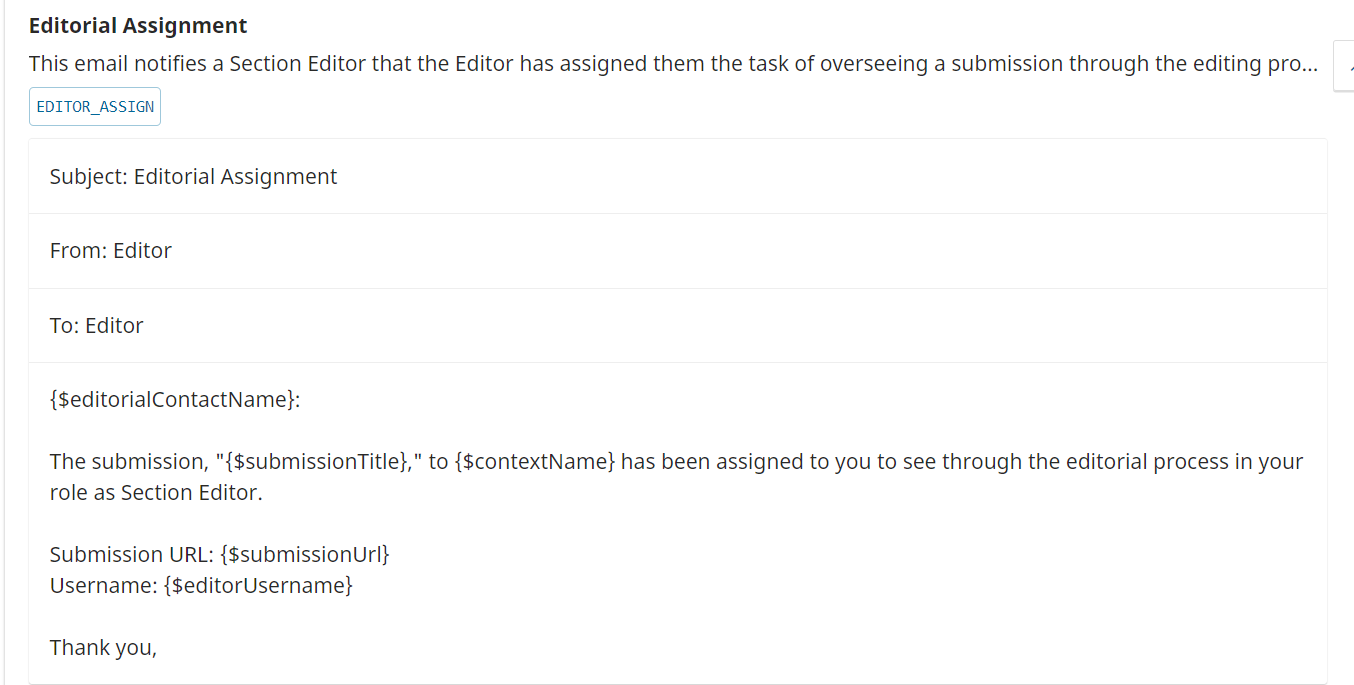
If you click the arrow beside each email template you can view the message subject and contents and who is the default sender and recipient of the message.
You can search for an email template by keyword by typing something in to the Search box.
You can click Filters to reveal options to filter the templates by status, sent from, sent to, and which workflow stage it is used during. These filters can help you find templates you want to edit.

When you edit an email template, you change what it will say every time it is used. For emails that are sent voluntarily, such as a message sent to a reviewer asking them to review a submission, you can also change the contents of the message at the time of sending it. This changes the contents for that message only.
To edit a template:
All of the templates are enabled by default when you install OJS, but you can disable some templates by clicking the Disable button. Most of the templates that can be disabled are messages that are sent automatically by OJS. Disabling the template will mean that the automatic notification will not be sent.
To disable a template:
If you have edited email templates but want to reverse the edits and restore them to their default contents, you can reset them:
Click the button Add Email Template to create a custom email template that you can use when notifying a user or adding a participant to a submission. Note that in versions earlier than OJS 3.1.2, you can create a custom email templates but it will not be available to use at any stage in the workflow.
Click here to filter email templates based on the following: Enabled, Disabled, Custom Template. You can also filter email templates based on who it was sent from and who it is sent to.
There is no direct email attachment option in OJS 3, but you can upload and share public files via the Publisher Library:
You can also choose to modify an existing email template with this URL, or share it publicly on the website.
OJS 3.2 now provides a description for every template outlining the sender and recipient, stage of workflow.